3D printing has revolutionized the way we create, design, and manufacture objects. From prototyping to producing intricate custom parts, the possibilities are endless. However, the foundation of any successful 3D print lies in the quality of the 3D model.
Whether you’re a hobbyist, designer, or engineer, mastering 3D modeling for 3D printing is essential to bring your ideas to life. In this guide, we’ll explore the basics of 3D modeling, tips for creating print-ready designs, and tools to help you get started.
What is 3D Modeling for 3D Printing?
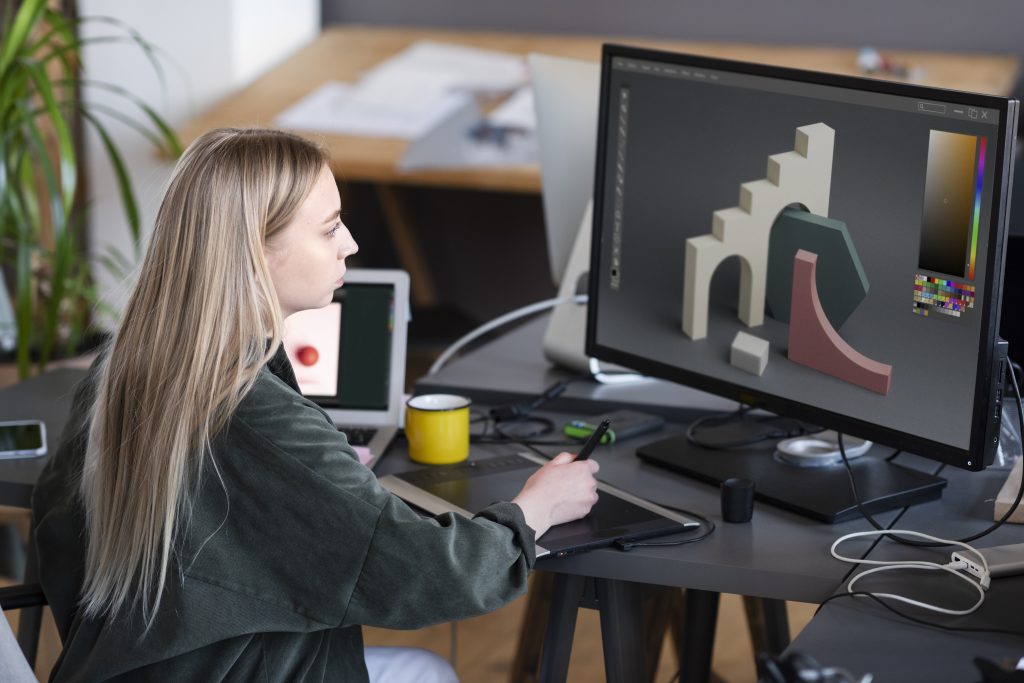
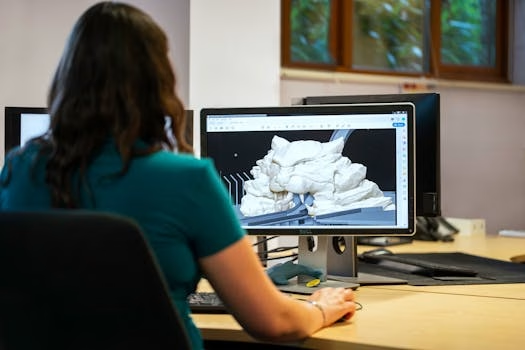
3D modeling is the process of creating a three-dimensional representation of an object using specialized software. When it comes to 3D printing, these models serve as the blueprint for the printer to follow. Unlike traditional 3D modeling for animation or gaming, 3D modeling for 3D printing requires a focus on precision, structural integrity, and printability.
The goal is to create a model that not only looks good on screen but can also be physically produced without errors. This means paying attention to details like wall thickness, overhangs, and support structures.
Why is 3D Modeling Important for 3D Printing?
- Accuracy: A well-designed 3D model ensures that the printed object matches your vision.
- Functionality: Models must be structurally sound to withstand real-world use.
- Efficiency: Proper modeling reduces the risk of printing failures, saving time and material.
Without a solid 3D model, even the best 3D printer won’t be able to produce the desired results. That’s why understanding the nuances of 3D modeling for 3D printing is crucial.
Key Considerations for 3D Modeling
Before diving into creating your first model, keep these essential factors in mind:
1. Wall Thickness
Every 3D model must have walls thick enough to be printed without breaking. If the walls are too thin, the object may collapse during printing. Most 3D printers have a minimum wall thickness requirement, so check your printer’s specifications.
2. Manifold Geometry
A “manifold” model is one that is watertight, meaning it has no holes or gaps in its surface. Non-manifold models can cause errors during printing, as the printer won’t know how to handle open spaces.
3. Overhangs and Supports
Overhangs are parts of the model that extend outward without support underneath. If the angle of an overhang is too steep, it may require support structures to prevent drooping or collapsing.
4. File Format
When saving your 3D model, ensure it’s in a format compatible with your 3D printer. The most common formats are STL and OBJ.
Popular 3D Modeling Software for 3D Printing
Choosing the right software is the first step in creating a successful 3D model. Here are some popular options:
- Tinkercad: A beginner-friendly, browser-based tool perfect for simple designs.
- Fusion 360: A powerful CAD software for more complex and functional models.
- Blender: Ideal for artistic and organic designs, though it has a steeper learning curve.
- ZBrush: Great for highly detailed sculpting, often used in figurine design.
Each software has its strengths, so choose one that aligns with your skill level and project requirements.
Tips for Creating Print-Ready 3D Models
- Start Simple: If you’re new to 3D modeling, begin with basic shapes and gradually work your way up to more complex designs.
- Test Your Design: Use slicing software (like Cura or PrusaSlicer) to preview how your model will print and identify potential issues.
- Optimize for Your Printer: Consider your printer’s capabilities, such as layer height and build volume, when designing your model.
- Iterate and Improve: Don’t be afraid to make adjustments. 3D modeling is an iterative process, and each version will bring you closer to perfection.
Common Mistakes to Avoid
- Ignoring Scale: Always double-check the dimensions of your model to ensure it fits your needs.
- Overcomplicating Designs: Keep your model as simple as possible while achieving the desired functionality.
- Skipping Pre-Print Checks: Always run your model through a slicing software to catch errors before printing.
Applications of 3D Modeling for 3D Printing
The combination of 3D modeling and 3D printing has opened up a world of possibilities across various industries:
- Prototyping: Engineers and designers use 3D models to create prototypes quickly and cost-effectively.
- Healthcare: Custom prosthetics, dental implants, and surgical guides are now being produced using 3D printing.
- Art and Fashion: Artists and designers create intricate jewelry, sculptures, and wearable art.
- Education: Students use 3D models to visualize complex concepts and bring their ideas to life.
Conclusion
3D modeling for 3D printing is both an art and a science. By understanding the fundamentals, choosing the right tools, and following best practices, you can create stunning, functional designs ready for printing. Whether you’re a beginner or an experienced designer, the key is to experiment, learn from mistakes, and continuously refine your skills.
With the right approach, 3D modeling for 3D printing can unlock endless creative possibilities, allowing you to turn your ideas into tangible reality. So, fire up your favorite 3D modeling software, start designing, and watch your creations come to life!


